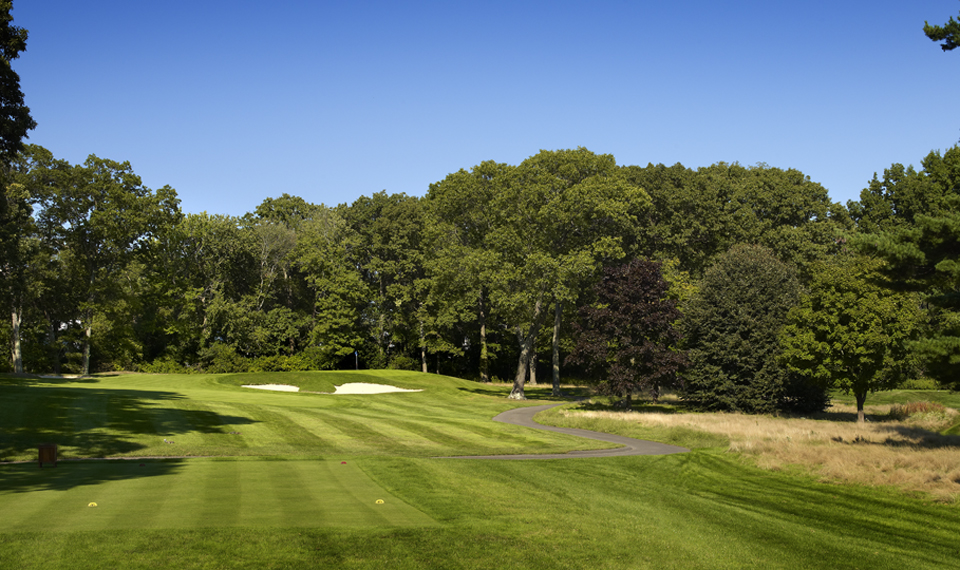
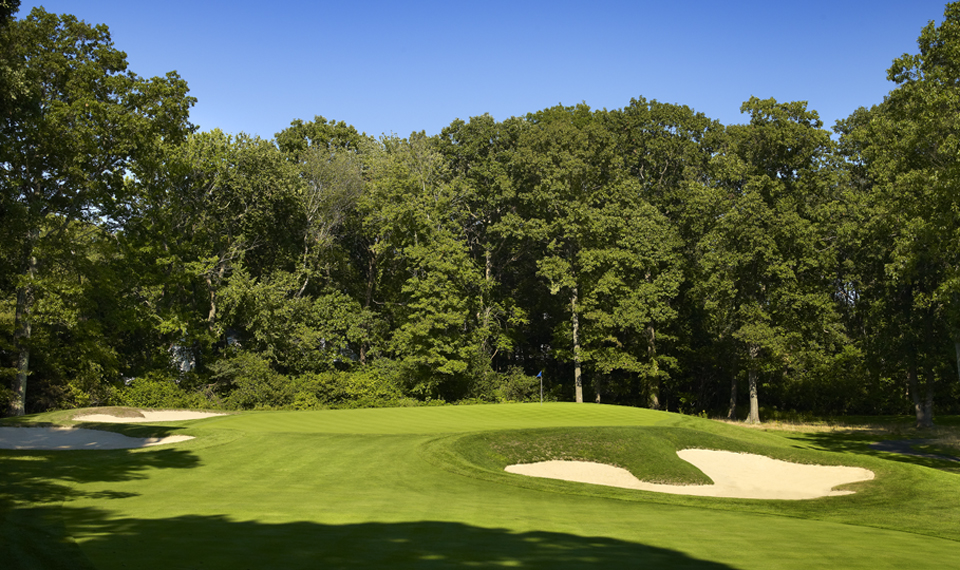
| Hole: 15 Par 3 |
|
| Tees |
|
Yardage |
Par |
H/C |
| Black |
|
228
|
3
|
16
|
|
| Blue |
|
185
|
3
|
16
|
|
| Blue/White |
|
161
|
3
|
16
|
|
| White |
|
161
|
3
|
16
|
|
| Gold (M) |
|
125
|
3
|
16
|
|
| Red/Gold |
|
125
|
3
|
18
|
|
| Gold (W) |
|
125
|
3
|
18
|
|
| Red |
|
119
|
3
|
18
|
|
|
| Scorecard |
|
|
|
| The wind will play havoc with tee shots here as the hole takes a different direction from any of the other par 3s on the course. The right-side hole locations are the most difficult, as a gaping bunker in front of the green stands ready to swallow short shots. |
|
| How to Play It: |
|
|
|
|
|