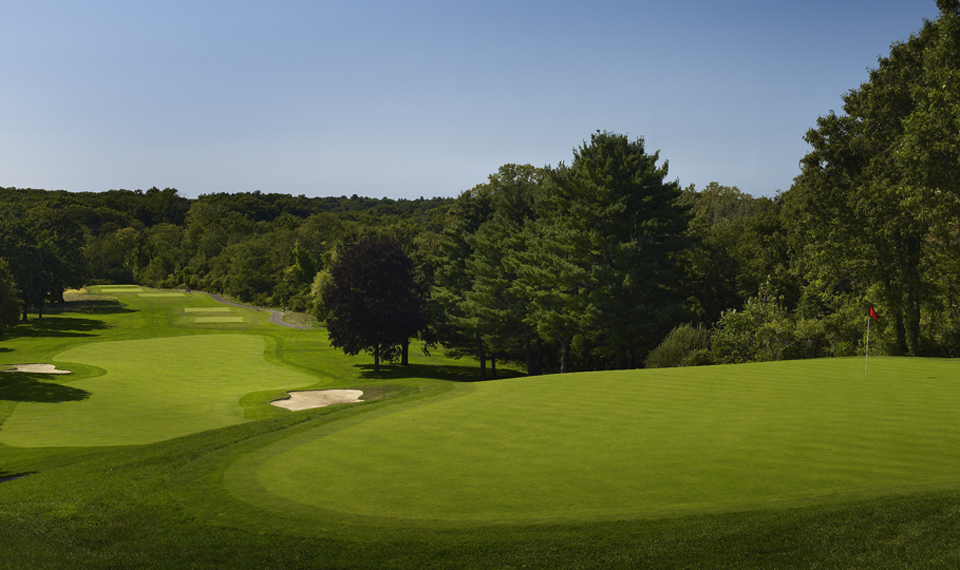
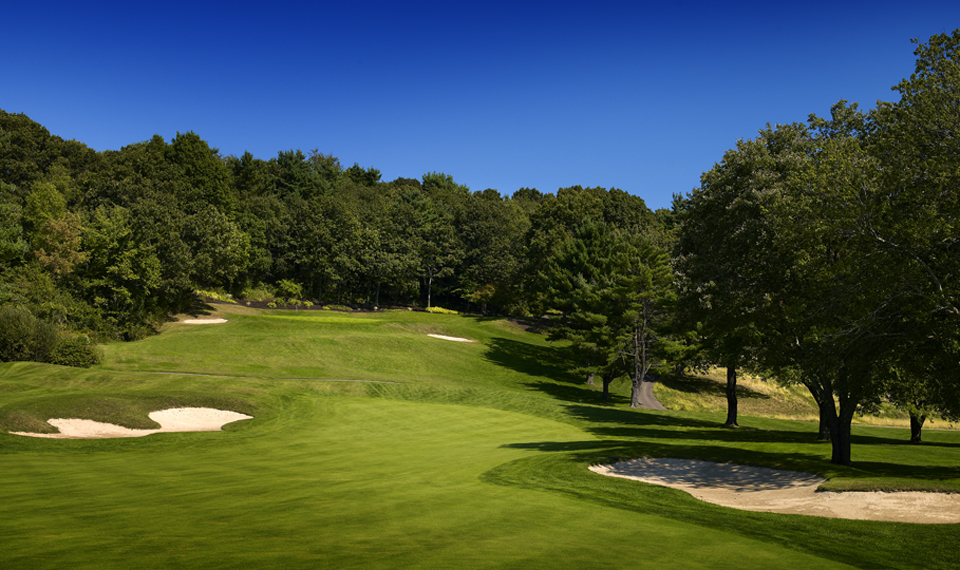
| Distance is not needed here, but control is. Bunkers on the right and left leave little room for error. One will be required to hit a tee shot in the fairway to afford the opportunity at this green. The ball must carry the steep slope to reach the undulating green. A hole located in the back right adds 10 or 15 yards to any shot from the fairway. Balls that fall short will surely find their way back down the slope or a green-side bunker. With three diverse sections, this green offers some of the best putting challenges on the course. |